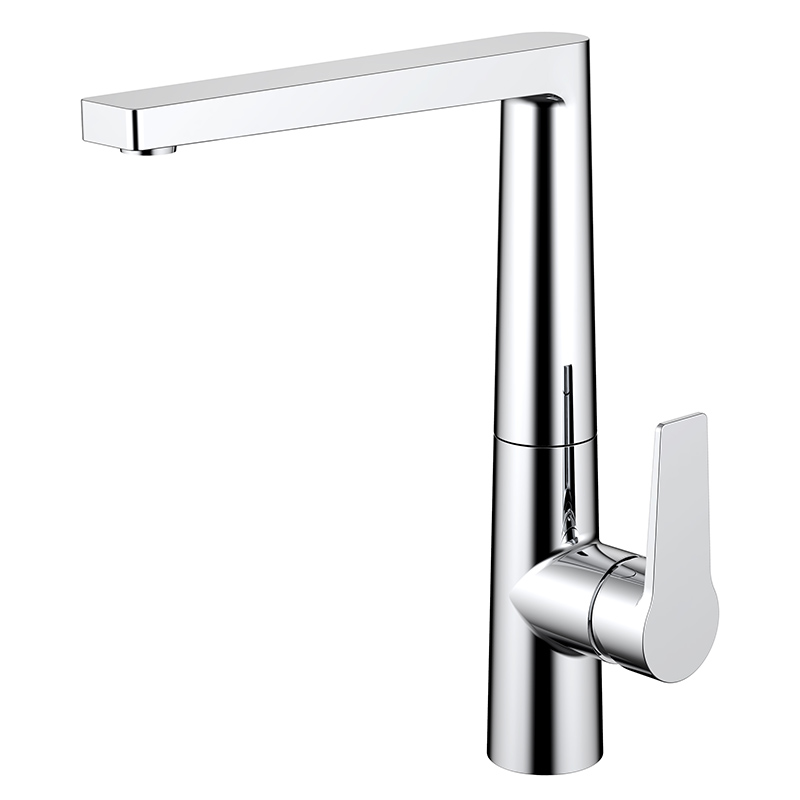
How To Fix A Leaky Kitchen Faucet?
A leaky kitchen faucet is one of the most common household plumbing issues. Not only does it waste water, but it can also increase your utility bills and cause annoying dripping sounds. Fortunately, with a few simple tools and the right approach, you can fix most leaks yourself without calling a plumber. This guide will show you step by step how to fix a leaky kitchen faucet effectively.
Common Causes of a Leaky Kitchen faucet
Worn Washers: Rubber or silicone washers degrade over time and allow water to drip.
Damaged O-Rings: These seals around the handle can loosen or wear out.
Faulty cartridge: Cartridge-style faucets may leak when the cartridge is damaged.
Loose Parts: Screws, nuts, or connections can loosen and allow water seepage.
Corrosion or Mineral Buildup: Hard water can damage the valve seat or internal components.
Tools and Materials You’ll Need
Adjustable wrench
Screwdriver (flathead or Phillips)
Replacement washers, O-rings, or cartridges (depending on faucet type)
Plumber’s tape
White vinegar for cleaning mineral buildup
Towel or bucket to catch water
Step 1: Shut Off the Water Supply
Locate the shut-off valves under your sink and turn them clockwise to stop the water flow. Open the faucet to release any remaining water and pressure. Place a towel or bucket under the sink to catch drips.
Step 2: Disassemble the Faucet
Use a screwdriver to remove the handle.
For cartridge or ball faucets, remove the retaining clip or cap as needed.
Keep all parts organized so you can reassemble correctly.
Step 3: Identify Your Faucet Type
Compression Faucet: Has separate hot and cold handles. Usually needs new washers.
Cartridge Faucet: Uses a cartridge inside the handle. Replace if worn.
Ball Faucet: Uses multiple small parts like seals and springs.
Ceramic Disk Faucet: Durable but may need cleaning or replacement disks.
Step 4: Replace the Faulty Part
Washers/O-Rings: Remove and replace with new ones of the same size.
Cartridge: Pull out the old cartridge and install a new one.
Ball Faucet Parts: Replace springs and seals as necessary.
Clean Valve Seats: Use vinegar to remove mineral deposits before reassembly.
Step 5: Reassemble the Faucet
Put the faucet back together in the reverse order of disassembly. Wrap plumber’s tape around threaded connections to ensure a tight seal.
Step 6: Test the Faucet
Turn the water supply back on. Slowly open the faucet and check for leaks. If water continues to drip, recheck that all washers, cartridges, or O-rings are seated properly.
Preventing Future Leaks
Don’t overtighten handles—this wears out washers faster.
Clean the faucet regularly to prevent mineral buildup.
Replace O-rings and washers at the first sign of wear.
Consider upgrading to a modern faucet with water-saving technology.
Conclusion
Knowing how to fix a leaky kitchen faucet helps you save money, reduce water waste, and extend the life of your fixture. Most repairs can be done in under an hour with basic tools.
As a professional kitchen faucet supplier, we provide high-quality faucets that are durable, easy to maintain, and designed for modern kitchens. If you are a distributor or wholesaler searching for a trusted kitchen faucet manufacturer, contact us today for OEM/ODM solutions and product details.
Previous: How To Clean A Kitchen Faucet Head?

