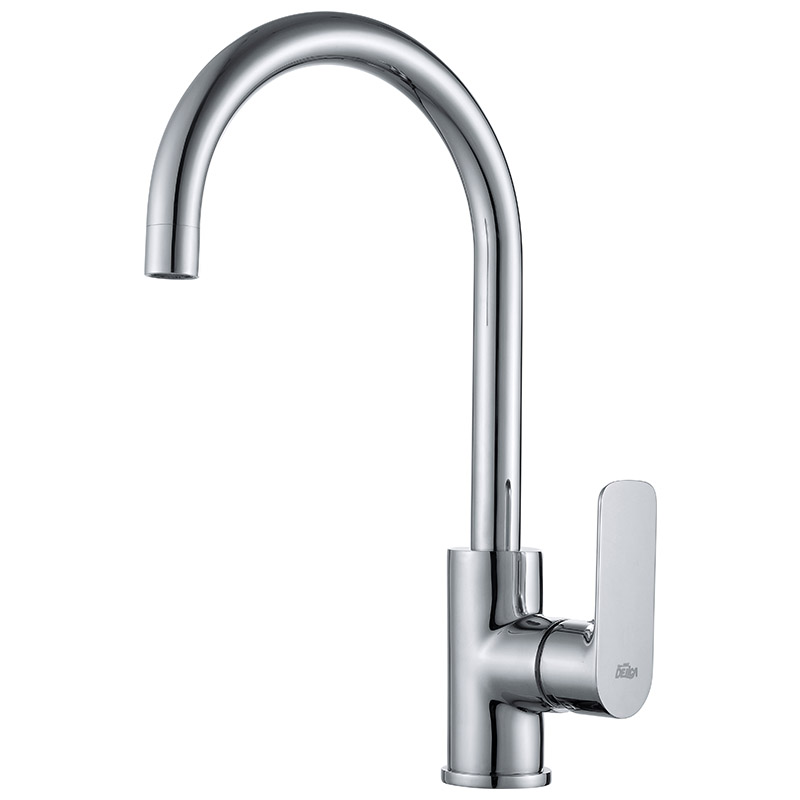
How To Properly Seal A Kitchen Faucet
A correct seal between the faucet base and the sink deck is critical to prevent water from leaking into the cabinet below. This process involves selecting the right sealant and applying it with precision. The following instructions outline the industry-standard methods.
1. Choosing the Correct Sealant
There are two primary types of sealants used, and the choice depends on the sink material and manufacturer recommendations.
Plumber's Putty: A traditional, soft, clay-like compound. It is easy to work with and provides an excellent, malleable seal for most sinks.
Best for: Undermount sinks, stainless steel sinks, and porcelain sinks.
Not for: Composite granite, quartz, or other porous solid surface sinks. The oils in the putty can migrate into the material, causing permanent discoloration or staining.
100% Silicone Caulk: A waterproof synthetic rubber sealant that cures to a flexible finish.
Best for: All sink types, and it is mandatory for composite, granite, quartz, or any porous solid surface materials. It is also ideal for sinks where the faucet base is not perfectly flat against the deck.
2. Required Tools and Materials
Your new faucet and its components
chosen sealant (Plumber's Putty or 100% Clear Silicone Caulk)
Clean rags or paper towels
Rubbing alcohol or a mild solvent
Putty knife (for cleaning old residue)
Caulk gun (if using silicone)
3. Step-by-Step Sealing and Installation Procedure
Step 1: Prepare the Surface
Thoroughly clean the entire area where the faucet will sit on the sink deck. Remove all old putty, caulk, mineral deposits, and debris. Wipe the area down with rubbing alcohol to ensure it is completely clean, dry, and free of oils. Any residue will prevent a proper seal.
Step 2: Apply the Sealant
If Using Plumber's Putty:
Knead a golf-ball-sized amount of putty until it is soft and pliable.
Roll it into a long, rope-like strand about ½-inch thick.
coil the rope of putty around the base of the faucet, ensuring it sits evenly in the manufacturer's designated channel or directly on the bottom of the base plate. Avoid blocking any mounting holes.
If Using Silicone Caulk:
Load the tube into a caulk gun and cut the tip at a 45-degree angle.
Apply a continuous, thin bead of silicone around the underside of the faucet base plate, again following any channel or just inside the outer edge. A modest bead is sufficient; excess will squeeze out and create a mess.
Step 3: Position and Secure the Faucet
Carefully lower the faucet into the mounting holes from above the sink.
Ensure it is aligned correctly (spout facing forward, handles accessible).
From underneath the sink, hand-tighten the provided mounting hardware (usually a plastic or metal retainer nut and a brass shank nut) to secure the faucet.
Use a basin wrench to finally tighten the mounting nut securely. The goal is firm and snug; overtightening can crack a porcelain sink or warp a thin stainless steel deck, compromising the seal.
Step 4: Clean Up Excess Sealant
As you tighten the faucet, a small amount of sealant will squeeze out from under the base.
Plumber's Putty: The excess can be easily wiped away immediately with a finger or a rag. It will not harden and remains removable.
Silicone Caulk: Wait about 30-60 minutes for the silicone to skin over slightly. Then, use a plastic putty knife or a razor blade held at a sharp angle to carefully slice away the excess bead around the base. Do not wipe it, as this will smear it and create a messy appearance.
Step 5: Final Connections and Check
Reconnect the water supply lines to the faucet tailpieces and the shut-off valves.
Slowly turn the water supply back on.
Do not use the faucet immediately if you used silicone. Allow it to cure for the time specified on the product label (typically 12-24 hours) before getting it wet.
After curing, run the water and visually inspect the faucet base from above and below for any signs of leakage.
Critical Professional Recommendation
Always consult the faucet installation instructions first. Some manufacturers will specify a preferred sealant and may void the warranty if another type is used. When in doubt, especially with modern sink materials, 100% silicone caulk is the safest and most universally recommended choice. If you have any others questions, please contact us.

