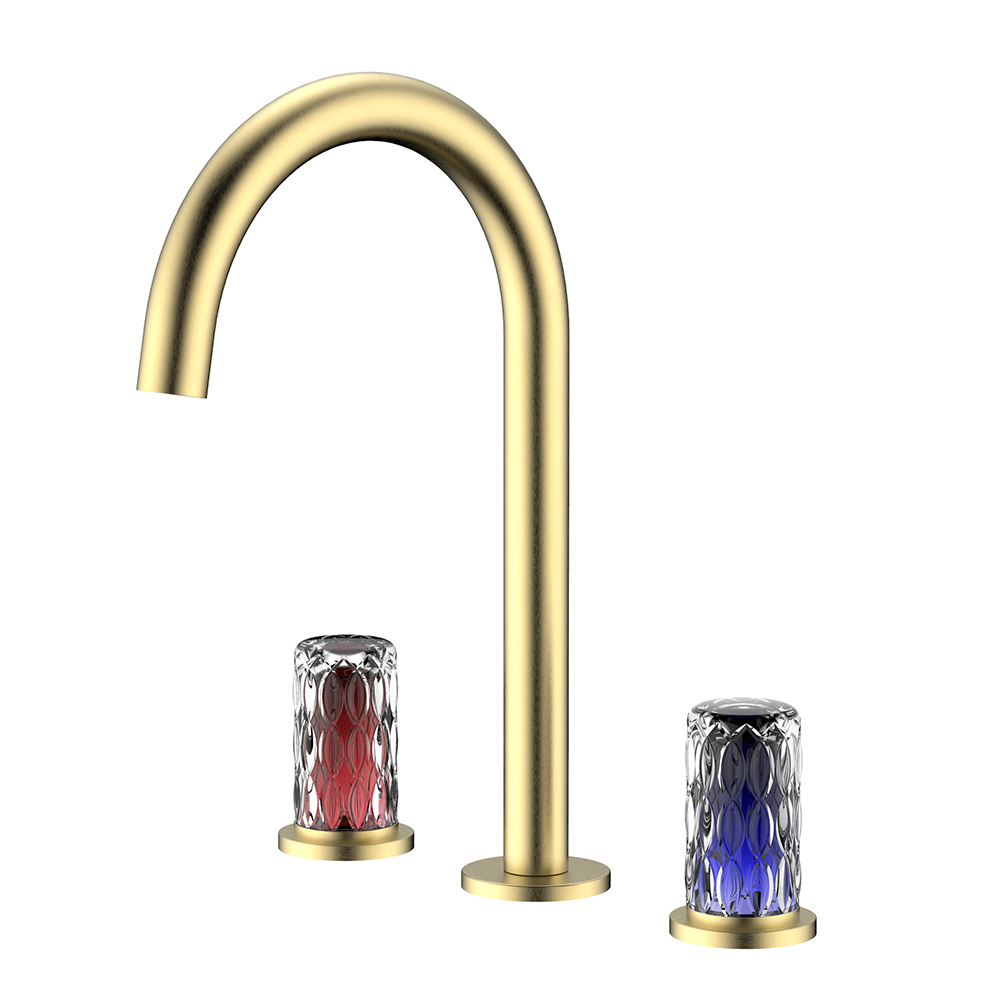
How To Remove Faucet Without Basin Wrench
A basin wrench is a tool specifically designed for removing faucets, but using common tools and effective techniques, you can remove a faucet without one. The primary challenge is accessing and loosening the retaining nuts in the confined space beneath the sink.
Required Tools and Materials
Gather the following alternatives:
Channel-Lock Pliers (or adjustable pliers)
Socket Set with extensions
Screwdriver (flathead and/or Phillips, as required)
Penetrating Oil (e.g., WD-40)
Flashlight or work light
Safety Glasses and Gloves
Step-by-Step Removal Procedure
1. Preparation and Safety
Shut off water supply: Turn the hot and cold water shut-off valves clockwise until they are fully closed.
Relieve pressure: Open the faucet handles to drain any remaining water from the lines.
Disconnect supply lines: Use an adjustable wrench to disconnect the water supply lines from the shut-off valves. Have a small bucket or towels ready to catch residual water.
Clear the workspace: Remove any items from under the sink to create maximum working room. Secure a light source to ensure clear visibility.
2. Access the Retaining Nut
Locate the large retaining nut(s) that secure the faucet to the sink deck. There may be one central nut or multiple nuts for each faucet lever.
3. Loosening Techniques (Choose Best Fit)
Method A: Channel-Lock Pliers
This is the most direct substitute for a basin wrench.
Position the jaws of the pliers firmly onto the flats of the retaining nut.
Due to limited space, you may only be able to turn the nut a small amount before repositioning the pliers for the next turn.
Technique: Use a series of short, firm counter-clockwise turns. Patience is key.
Method B: Socket and Extension
Often the most effective alternative if space allows.
Determine the size of the retaining nut (common sizes are ⅞", ½", or 15/16").
Select the appropriate deep-well socket and attach it to a long extension bar.
Fit the socket onto the nut and use a ratchet or breaker bar to turn it counter-clockwise. The long extension allows you to work from a more comfortable position outside the cabinet.
Method C: Screwdriver and Hammer (for Notched Nuts)
Some faucets are secured by a large plastic retainer nut with notches.
Place a flat-head screwdriver into one of the notches, angled so that tapping the handle will drive the nut counter-clockwise.
Gently tap the screwdriver handle with a hammer to slowly rotate the nut. Move the screwdriver to the next notch after each successful turn.
4. Addressing Stuck Nuts
If the nut is corroded or seized:
Apply a generous amount of penetrating oil to the threads of the nut and allow it to sit for 10-15 minutes.
Use the chosen tool to attempt to turn the nut. Sometimes applying gentle pressure in both directions (tightening slightly before loosening) can help break the corrosion's hold.
5. Final Removal
Once all retaining nuts are completely loosened and threaded off, the faucet assembly will be free.
Carefully pull the faucet upward and out from the top of the sink. You may need to gently wiggle it to break the seal of any old plumber's putty or caulk.
Important Professional Note
While these methods are effective, they require caution. Using improper tools or excessive force can damage the sink, plumbing, or the new faucet. For a routine and damage-free installation, investing in or renting a basin wrench is highly recommended for future projects. It is specifically engineered for this purpose, providing superior leverage and reach while minimizing the risk of damage.

