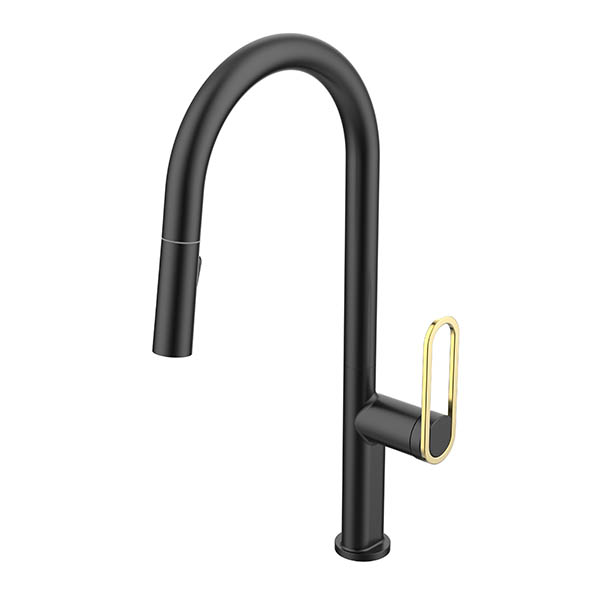
How To Remove Kitchen Faucet Cartridge

Master Your faucet! Step-by-Step Guide to Removing a kitchen faucet Cartridge
Is your kitchen faucet leaking around the handle, dripping stubbornly, or hard to turn? Often, the culprit is a worn-out cartridge inside the faucet valve. Replacing this internal part is a common and relatively straightforward DIY repair that can save you money on a plumber. This guide will walk you through the safe and effective removal of your kitchen faucet cartridge.
What is a Cartridge?
The cartridge is the heart of your single-handle or two-handle faucet. It controls water flow, temperature mixing, and volume. Over time, sediment buildup, mineral deposits, or worn rubber seals can cause leaks, reduced water pressure, or stiffness, signaling it's time for a replacement.
What You'll Need:
Screwdrivers: Phillips and Flat-head (for handle screws and trim caps).
Adjustable Wrench or Basin Wrench: For securing/loosening nuts under the sink.
Hex Key Set (Allen Wrenches): Often needed for set screws in the handle.
Cartridge Puller Tool (Optional but Highly Recommended): Especially useful if the cartridge is stuck.
Penetrating Oil (e.g., WD-40 or PB Blaster): Helps loosen stuck parts.
Needle-Nose Pliers: For tiny clips or retaining pins.
Rag or Cloth: To protect surfaces and handle parts.
Tape or Marker: To label hot/cold supply lines (if disconnecting).
Replacement Cartridge: Crucial!Identify your faucet brand and model number beforestarting. Purchase the exact replacement cartridge needed. Your local hardware store or online supplier can help.
Important Safety First!
TURN OFF THE WATER SUPPLY! Locate the shut-off valves under your sink – typically one each for hot and cold supply lines. Turn them clockwise until fully closed.
Turn on the faucet handle(s) to relieve any residual water pressure and drain any remaining water out of the faucet lines. This prevents spills when you open it up.
Cover the drain hole with a rag or use a sink plug. Dropping a tiny screw down the drain is frustrating!
Step-by-Step Removal:
1.Remove the Faucet Handle:
Look for a small cap:Often a decorative cap (hot/cold indicator or brand logo) hides the handle screw. Carefully pry it off with a flat-head screwdriver or utility knife tip.
Locate the screw:Once the cap is off, you'll usually find a Phillips or Hex screw. Remove it completely.
Pull off the handle:Some handles lift straight off; others might need gentle wiggling side-to-side while pulling upwards. Do not force it.If stuck, tap gently around the base with a soft mallet or apply penetrating oil and wait. Check for hidden set screws on the side or back.
2.Remove the Trim Sleeve/Collar: Beneath the handle, there's often a decorative sleeve or collar around the cartridge body. This might unscrew by hand (turn counterclockwise) or might have small set screws you need to loosen first. Set it aside.
3.Locate and Remove the Retaining Nut/Clip: You should now see the top of the cartridge body. Securing it will be either:
A Brass Retaining Nut:Slide your adjustable wrench over the cartridge stem onto the flats of this nut. Turn it counterclockwise to loosen and remove it.
A U-Shaped Retaining Clip:Find the small wire clip lodged in a groove around the cartridge body. Carefully pry it out using needle-nose pliers or a small screwdriver. Keep it safe for reassembly.
4.Extract the Cartridge:
Ideal Scenario:The cartridge is not seized. Grab its stem firmly with your hand or adjustable pliers (pad the jaws with a cloth to avoid scratching) and pull straight upwards. A little wiggle (rotating gently side-to-side slightly) can help break it loose.
Stuck Cartridge (Most Common): This is where the cartridge puller* shines:
Thread the puller's center bolt onto the cartridge stem (if threaded), or hook its arms under the cartridge rim.
Tighten the bolt slowly. The puller exerts even upward force, breaking the mineral bond and pulling the cartridge out without damaging the faucet body.
No Puller?Try:
Apply penetrating oil liberally to the cartridge where it meets the faucet body. Wait 10-15 minutes.
Use pliers with padded jaws directly on the stem. Pull firmly but do not crush or twist excessively. Twisting forcefully can snap plastic stems.
Alternate gentle rocking back and forth while pulling.
As a last resort, carefully cut a deep slit into the cartridge body with a hacksaw blade (avoiding the faucet body!), creating a weak point to collapse it inward using a screwdriver and pliers. Exercise extreme caution. Replacing the entire faucet might be better than damaging the valve body.
5.Inspect and Clean:
Once the cartridge is out, thoroughly inspect the cartridge chamber inside the faucet body.
Use an old toothbrush dipped in vinegar or penetrating oil to scrub away any mineral deposits or debris around the O-ring seats and the chamber walls. Rinse clean and dry with a lint-free cloth.
You're Ready!
With the old cartridge removed and the faucet body cleaned, you're ready to install the correct replacement cartridge following the manufacturer's instructions (usually involves lubricating new O-rings, inserting the cartridge carefully in the correct orientation, and reassembling in reverse order).
By following these steps carefully, you can successfully remove your old kitchen faucet cartridge, paving the way for a leak-free and smooth-operating fixture once again! Good luck with your repair!
https://www.delicasanitary.com/
